I don't know about you, but Star Trek "The Original Series" is one of my favorite TV shows. Yes. It is cheesy, corny, and not even realistic. But the actors are some of the most memorable in TV history, and work together in a way which we don't see anymore in TV shows.
While most props were rather... Lame. There are three which are pretty interesting. First, the Tricorder. Spock's Instrument of choice when he needed to pick up life forms or any other reading. Second, the communicator, which was their ticket back to the Enterprise. Lastly, The Phaser, which was first a tool to cut, weld, or heat. A weapon to defend themselves from hostile aliens. And a bomb. If it gets set into overload.
You don't want your phaser to go into overload.
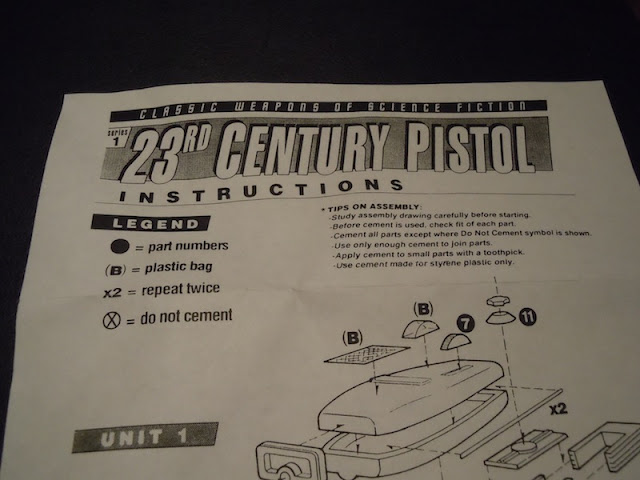
I have wanted to build a fully functional 1:1 Star Trek Phaser for a long time now. There are many cheapy kid models, but few quality cast kits. Even Fewer which are 1:1 scale. After a few months of searching I managed to snag 2 of these Brand new:
This cast kit is a full 1:1 Scale, which was made back in the 80s. The people who made this actually operated out of a garage, and because these were so accurate, got a cease and desist order from CBS. They are very hard to find, but they will pop up on ebay once or twice a year. It is one of the best kits out there to install electronics and maintain the accurate scale.
So here's the goal. To turn this pile of plastic into two fully functional LED phasers with sound. The Type 1, with two modes. The Type 2, with one. Rechargeable cells will also be used, so you plug it in instead of swapping batts.
A project and a half, but I think it will be fun, and provide that nice change needed from saber building at times.
So, things to do.
1. Find proper adhesive and purchase
2. Find accurate paints
3. Find replica sized metal thumbscrew
4. Mounting solution for grip other than glue
5. Custom Soundboard with a friend of mine
6. Layout internal electronics
7. Switch and LED holes
8. Dual Mode switch solution
9. Photoshop settings diagram
10. Glue, sand, bondo, and paint pieces
11. Install electronics
12. Close everything up and test/fire/enjoy
If you are wondering. I plan to make a High powered Phaser that will actually burn through items, pop balloons, etc with the second model. Using a LED Laser Diode this is possible (the same kind which burn DVDs, CDs, etc. I wanted to tackle the easier project first. ;)


No way. Austin, that is just way too cool. *shakes head in amazement* Please keep us updated!
ReplyDelete