


I had to sand through five layers of paint, primer, clear, original paint, original primer on the driver's side, then I got to some bondo...

When you come across old bondo on a car such as this it is important to make sure that the old stuff isn't going to crack under the new bondo that will be applied. I did this by sanding a little deeper to make sure it was mixed properly all the way through. It was, so when I got to the bodywork on the car, I didn't have to remove the old stuff. (thankfully)
Here is the right side stripped of paint...

I could go in depth on the repair of each door, but figured that would get a little boring. So, I'm going to focus on the door in the worst condition. This door was the rear passenger.
When you have a dent as severe as the one in the passenger door, I wouldn't want to fill it with bondo first thing. Doing so would not only be more expensive, but also heighten the possibility of the bondo cracking. Which would be bad.
Instead, I needed to pull the door dent out, so less bondo would be used.
And wouldn't ya know it? there is a tool and system made just for this purpose. ;)

The way pulling a dent out is pretty simple, a welding gun is needed, and a pull bar. The way it works is you weld little copper pieces to the dent...


This pulled the metal out so less bondo was needed. Less Bondo is always a good thing.
So after the door was sufficiently pulled out, I cut the copper pieces off...

Then ground the stubs off...

Now we are ready for bondo. When using bondo, it is important to make sure it is mixed well so it hardens evenly. Applying it to these doors was difficult as well, because I had to make a "line" that had previously been smashed...
Here is what the door looked like after 2 layers of bondo. See how the line is forming? That's a good thing. :)

This pic is right before the final layer of putty coat. Putty coat is softer than bondo and accepts primer better than the bondo.


Looks pretty sharp doesn't it? It still has a ways to go before it is ready for paint. The next step in the process is "Blocking". Blocking takes wet sandpaper and evens the primer so the surface has no pitting, tiny dents, etc. It took me about an hour to block on door, and I had do to it 4-5 times per door, as they were in such bad condition...
So here is the blocking process.
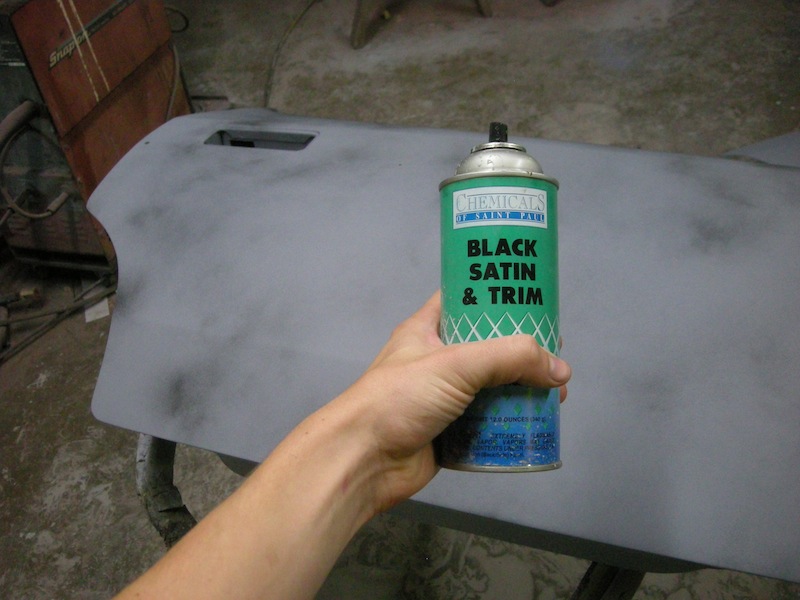
Black Spray paint on the door. I did this so I could see where there were low and high spots.
The block and 400grit sandpaper.

Added water to the door for the wet sanding. I also had a bucket I kept my sandpaper in... The more water, the better.

Here is a before and after pic.

That's pretty much it for the doors. All four doors took me about... 6 weeks I think. It was a long process. They look very good now.
Not sure what I will be posting next, maybe fenders?
Stay tuned!
No comments:
Post a Comment